
Making console RPG in JavaScript
This series has been discontinued without a proper ending. For anyone affected and seeking guidance for the related topic, contact me through Twitter DM, my Facebook Page, or email, and we should work something out!
In the two previous posts of this JS beginner-tailored series, we’ve covered some programming concepts and terms, together with the basics of JS. In this post, we’ll utilize obtained knowledge to create a simple, console-based RPG game. Let’s get started!
First, we need to decide on how our game should work. It’ll be a Role-Playing Game (RPG), where the user becomes the main hero of our story. For the sake of simplicity, let’s say that the player will interact with the game through the browser’s console and a system of yes or no questions. To answer them, he’ll be using the y and n keys on the keyboard. In this way, we’ll not only improve our current JavaScript knowledge but also learn a thing or two about events, Web APIs, and problem-solving thinking too!
The core
Most games come with what’s called a game loop at their cores. To put it simply - it’s a loop that runs the game logic. But, in our case, as our game is relatively simple and we don’t have any complicated logic to implement, we don’t have to use a game loop. Instead, we’ll utilize the system of events and callbacks (functions that are executed in response to something happening).
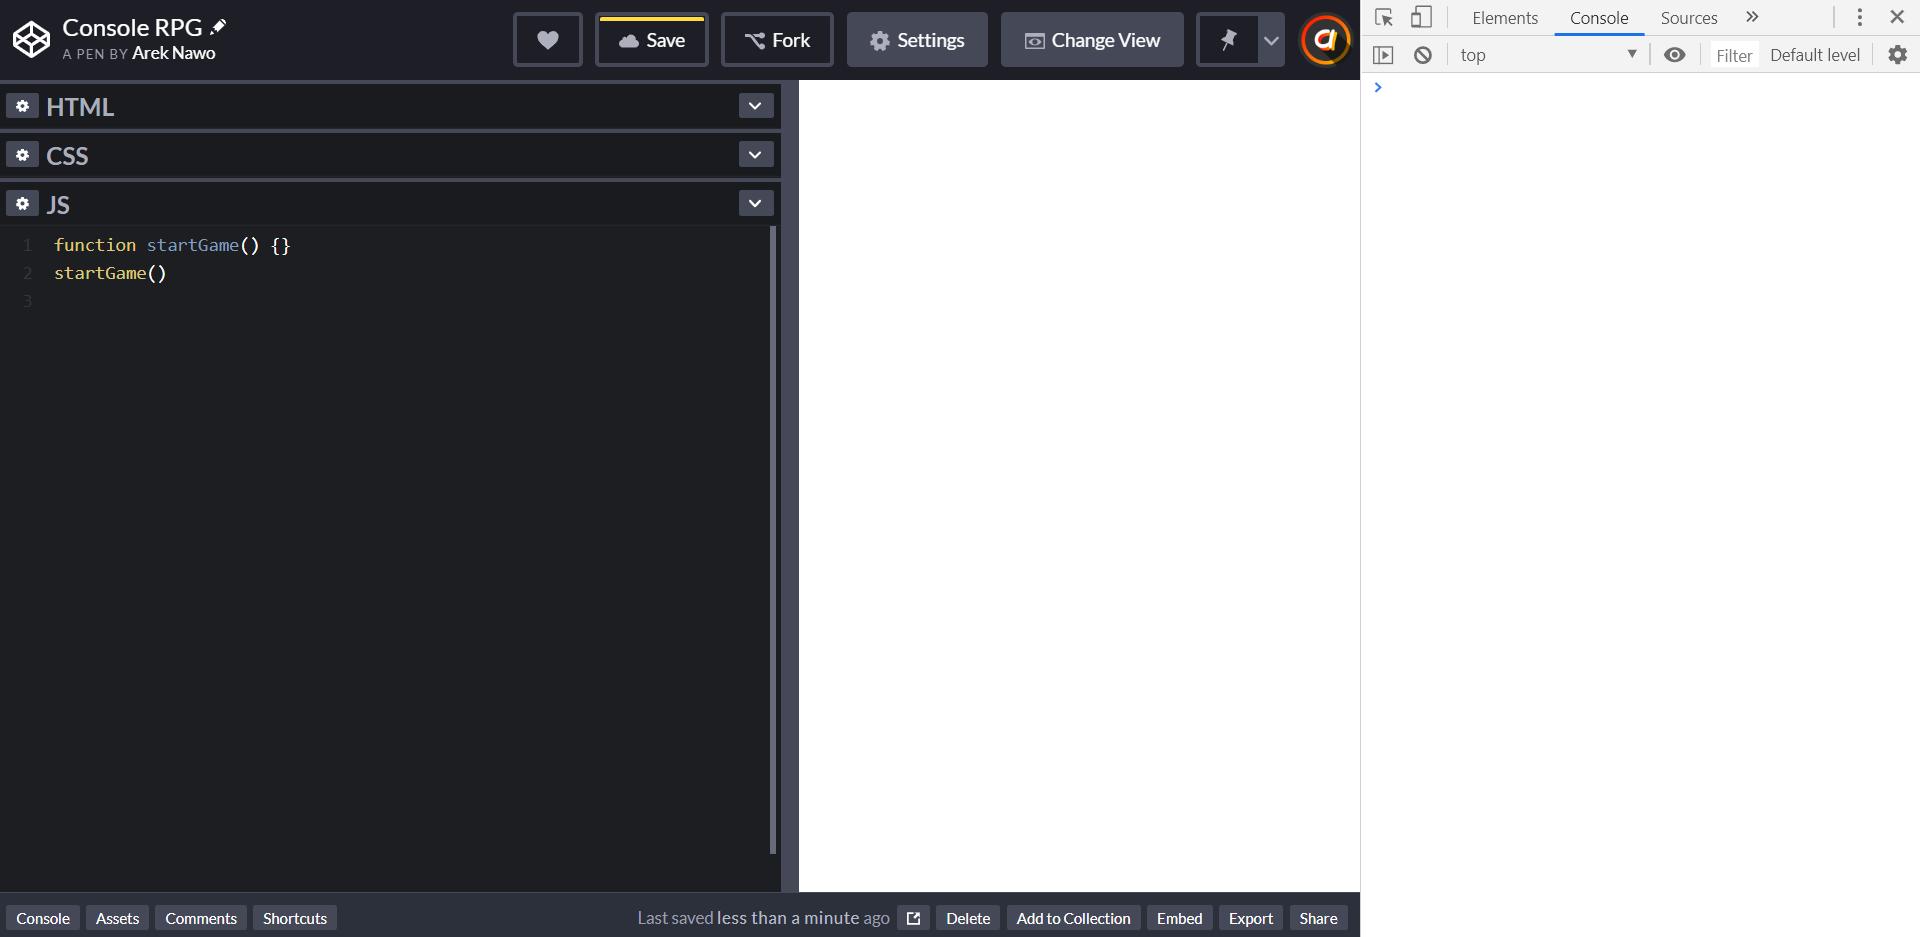
So, let’s go to codepen.io - a simple, online code editor (but you can use anything else you want) - and open the browser’s console (usually with F12 key), as these are the places that we’re interested in. First, create a startGame function and call it immediately after. Inside of it, we’ll make all the needed preparations to set up our game.
Event listeners
We’ll first set up our event listeners - functions that will be called when the specified event happens - e.g., mouse click or keypress. We want to listen only to two events - y and n key presses. To do this, we have to use a special [addEventListener](https://developer.mozilla.org/en-US/docs/Web/API/EventTarget/addEventListener) function, provided to us through one of the Web APIs. It’s available on the global object called [document](https://developer.mozilla.org/en-US/docs/Web/API/Document) that’s available everywhere in your code, in any web browser. Such a function can be accessed just like a usual object property and is generally referenced to as a method.
function startGame() {
  document.addEventListener("keydown", () => {
    // ...
  });
}

startGame();
As you can see, the method we’re using takes two arguments - the name of the event and an event handler. The handler is a function but simply declared using a different syntax. It’s called arrow function, and for now, you can get away with knowing that it’s only a modern shorthand for usual functions (although there are some major differences under the hood).
So, you might have noticed that our event listener handles only a general keydown event - not specific keys like we want it to do. How to solve it? Well, with an if/else statement.
function startGame() {
  function handleAnswer(agree) {
    // ...
  }

  document.addEventListener("keydown", args => {
    const key = args.key.toLowerCase();

    if (key === "y") {
      handleAnswer(true);
    } else if (key === "n") {
      handleAnswer(false);
    }
  });
}

startGame();
We first access the data that is provided to us within the handler function. It’s an object with multiple properties, but one that interests us is the key property, which stores the info about the pressed key. So, we save it to a separate key constant and use the [toLowerCase](https://developer.mozilla.org/en-US/docs/Web/JavaScript/Reference/Global_Objects/String/toLowerCase) method of the string data type to make sure the stored key is in lower case. It ensures that we cover situations when the user enters the key in the upper case (e.g., with Caps Lock on).
What might seem weird to you is the fact that there’s a method located on a string. And it can be accessed just like when working with objects. The hidden truth behind that is the fact that, in JS, everything is an object. It’s the foundation of the entire language and a significant feature when using Object-Oriented Programming (OOP) techniques. We’ll learn more about these later in the series. For now, just keep that in mind.
So, we check whether the pressed key is y or n and handle both cases with a dedicated handleAnswer function, to separate the logic. By the way - yes - function declarations can be put inside another function.
Game steps
Before we implement the handleAnswer function, we need first to set up our game steps.
function startGame() {
  const steps = {
    start: {
      message: "Do you want to play a game?",
      yes: "firstStep"
    },
    end: {
      message: "You've lost either way. Do you want to play again?",
      yes: "start",
      no: () => {
        console.clear();
      }
    },
    firstStep: {
      message: "Do you agree?"
    }
    // put your steps here
  };
  let currentStep = "start";
  // ...
}
// ...
As our game consists of simple yes/no questions, we must specify all of them up-front. That’s why we create the steps object, where all of its properties represent the individual steps/questions the player will take. A single step is also an object, consisting of the displayed message and what should happen on the provided answer - the yes and no properties. They can hold:
- A string indicating the name of the next step.
- Custom function to be executed.
- Nothing - defaults to the
endstep.
I only set up the most important steps for you to get the overall idea. I’ll leave the creation of rest to you and your imagination.
Just a quick note on the end step. As you can see, we handle the no answer to this step with a custom function that calls [console.clear](https://developer.mozilla.org/en-US/docs/Web/API/Console/clear) method. As the player said that he no longer wants to play, with this Console API call, we clear the console of all the previous messages, thus ending the game.
We also need a variable to hold our current step, starting from the one named start. For that we use currentStep.
It all might seem pretty easy or hard, depending on what your current coding skills are. As this is a beginner series, I try to describe everything we do in detail for you to understand the whole process well. Again, it’s just some basic problem-solving, but it’s also the most essential skill to learn in programming. Either way, if you don’t get it now, you’ll most likely understand it with time.
Handling answers
Now, let’s go back and implement our handleAnswer function, together with logStep.
// ...
function logStep() {
  const step = steps[currentStep];

  if (step) {
    console.log(`${step.message || ""} Y/N`);
  }
}
function handleAnswer(agree) {
  let step;

  if (agree) {
    step = steps[currentStep].yes;
  } else {
    step = steps[currentStep].no;
  }

  if (typeof step === "function") {
    step();
    return;
  }

  if (typeof step === "string") {
    currentStep = step;
  } else {
    currentStep = "end";
  }

  logStep();
}
// ...
Let’s start with logStep. As the name implies, we’ll be using this function to log our messages to the browser’s console. All we need to do here is to access the data of the current step with bracket notation, check if it even exists, and then log the corresponding message. Here, we’re using yet another method from the Console API - [console.log](https://developer.mozilla.org/en-US/docs/Web/API/Console/log), which outputs the provided data to the console. We provide it with a string literal with additional "Y/N" ending reminding the player of how to interact with the game. Also, notice the or boolean operator (||). Here, we’re using it to provide a fallback (empty string) if there was no message property found. It’s just a safety measure to not log something like "undefined" to the console.
Next, our handleAnswer function might seem pretty big, but it’s not very complicated. First, we’re accessing the yes or no property, depending on the passed argument, and assigning it to the step variable. From there, we proceed to handle it correctly. We use the [typeof](https://developer.mozilla.org/en-US/docs/Web/JavaScript/Reference/Operators/typeof) operator, which returns the data type of its operand in the form of a string. We check if it’s a function and if so, we execute it and use the return statement, not to return a value, but to end the function in this very moment. Following this, we handle cases where the step string is provided and where there’s no value at all. Both of them finish with the logStep call. The first case will never reach this fragment of code because of the used return statement.
Finishing touches
All that’s left to do is the initial setup. So, get to the end of the startGame function, and from there, call the console.clear and logStep for the first time.
function startGame() {
  // ...

  console.clear();
  logStep();
}

startGame();
Our game should work just fine.

Now, you can go and have fun with it. All the code is here - ready for you to play with it. Maybe you’d like to create some more immersive storylines, have multiple endings, or log the player’s answers? All of this should be easy for you to do. Hope you like the results!
What’s next?
There are still some things that we can improve in our code. It’s pretty basic right now, but it’s important to think about the future. We need to make our code more readable and manageable. We’ll be doing all of that in the future article, where we’ll learn/revise some HTML/CSS basics, to make our game more visual, as well as improve and build upon our current codebase.
Until then, be sure to follow me on Twitter, Facebook, Reddit, or through my weekly newsletter to stay up-to-date with the latest content. Also, you might want to check out my YouTube channel and drop a like or a sub. Have a nice day!
Sponsored links - check them out for more interesting programming content!
If you need
Custom Web App
I can help you get your next project, from idea to reality.